How to: Make a Fleece Tie Blanket
1. Put both pieces of fleece together (pattern piece and solid piece). Make sure the best sides are visible and on the outside--what the blanket will look like when finished. Sometimes one side of the fabric is fuzzier or if it is a pattern piece, sometimes the pattern is darker on one side or the other. Use your best judgment! It will be fine either way. :)
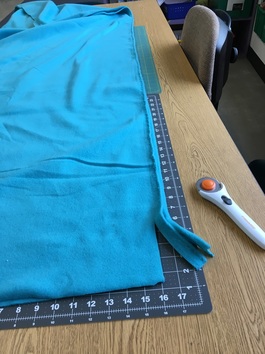
2. Next, cut the edges of the long sides of the fleece. You should cut the edges of both the pattern and solid pieces together. One piece of fabric may have extra inches--feel free to cut the extra off so both pieces line up. (Picture shown is missing the pattern piece of fleece--I learned my lesson on the first one!)
2. Next, cut the edges of the long sides of the fleece. You should cut the edges of both the pattern and solid pieces together. One piece of fabric may have extra inches--feel free to cut the extra off so both pieces line up. (Picture shown is missing the pattern piece of fleece--I learned my lesson on the first one!)
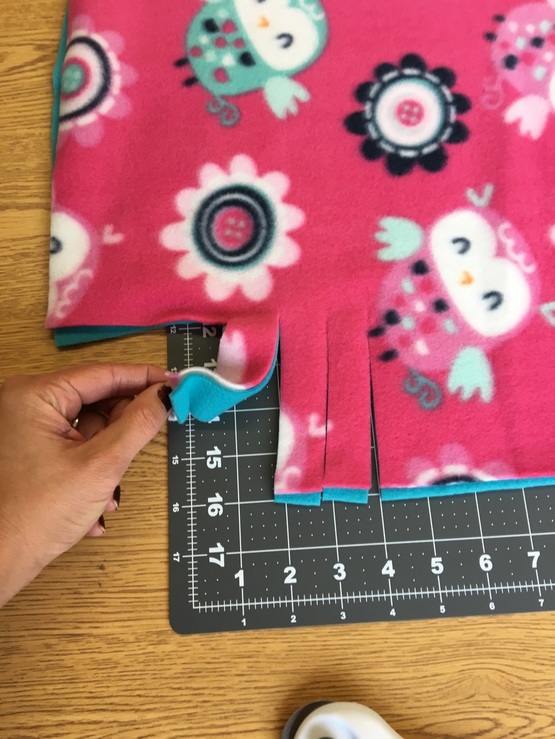
3. Next, cut a 4X4 inch square from each corner with both pieces of fabric together so pieces line up.
4. Begin cutting 1 inch wide slits that are 4 inches long. I prefer to start with the long sides and then do the shorter sides.
4. Begin cutting 1 inch wide slits that are 4 inches long. I prefer to start with the long sides and then do the shorter sides.
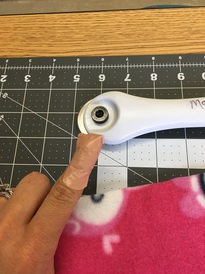
5. Be careful! The blade always wins! Ouch!
6. Once all sides are cut, start tying double knots (tight enough to hold together when washed). I like to start by tying a few pieces on each of the corners just in case the blanket gets mixed up.....or toddlers come and mess it all up! Security!
7. Tie the remaining pieces together--get the fam involved!
7. Tie the remaining pieces together--get the fam involved!

7. Most importantly, HAVE FUN and be grateful! You are going to make some Clay Lamberton kids very very happy! :)
